

- Courier service to home from 7,99 € from 2-3 tööpäeva
- Pick up from the store from 18.11.2026
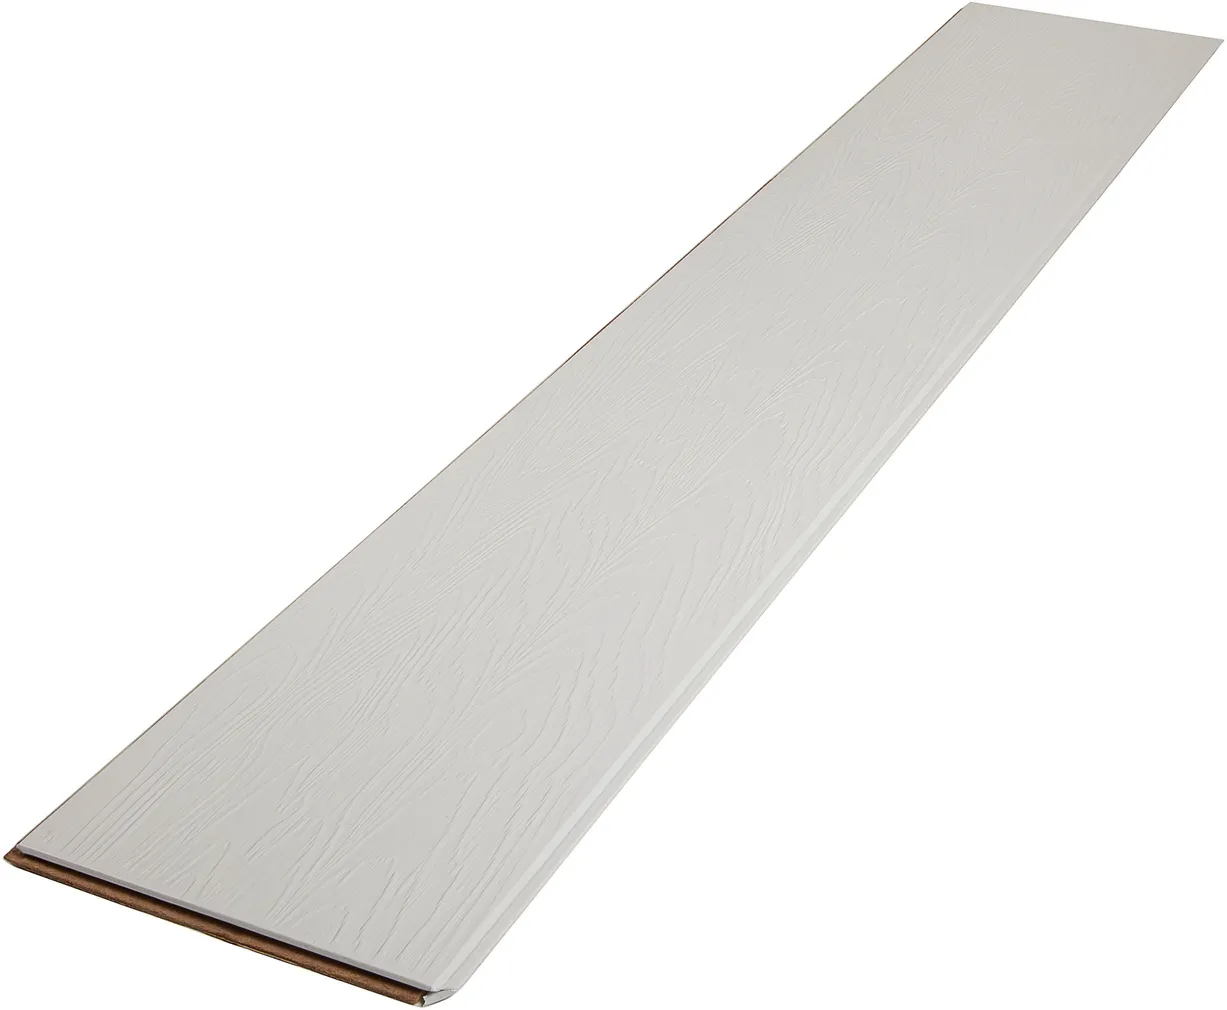
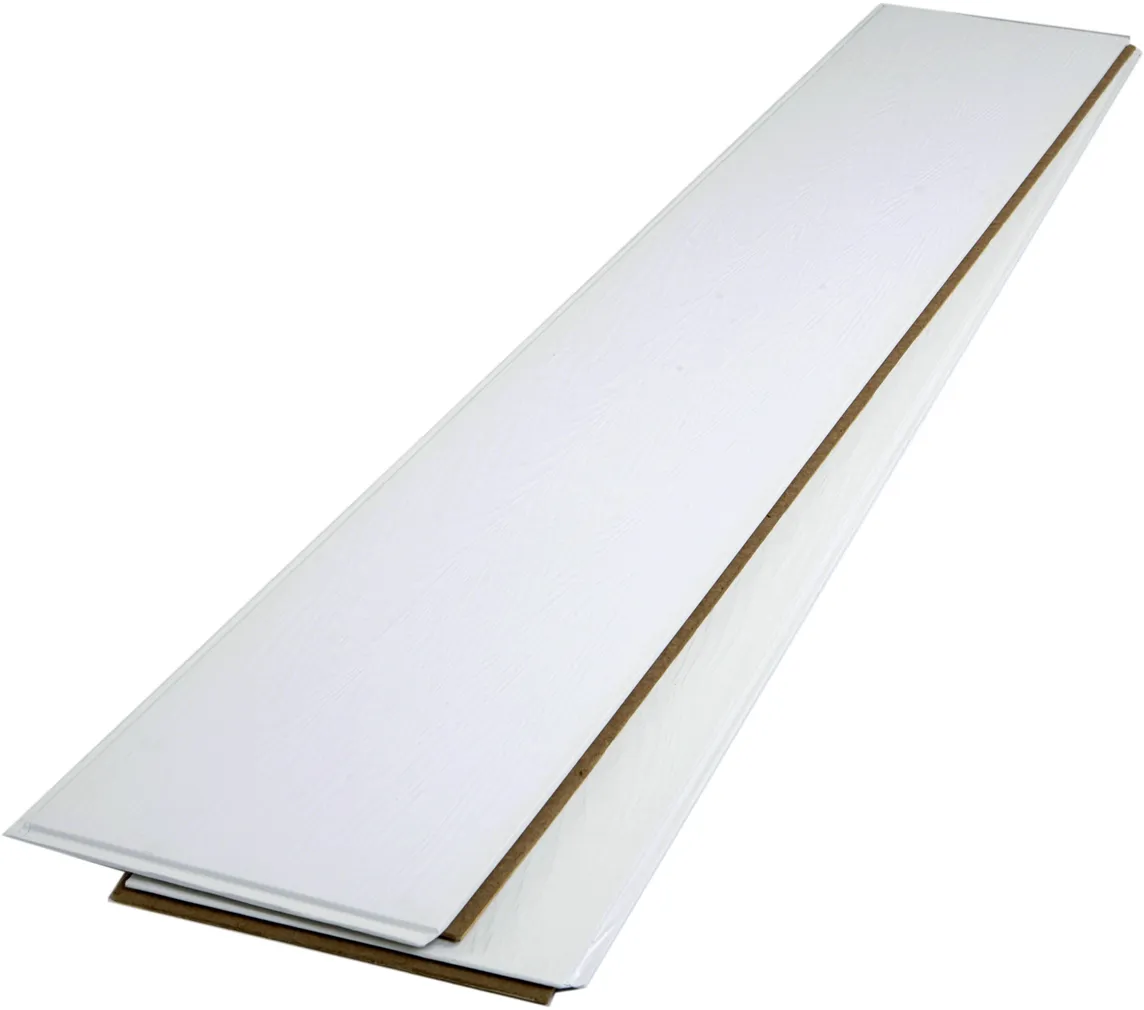
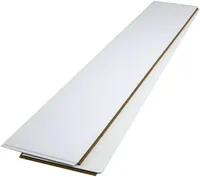
ISOTEX FOREST NORDIC Ceiling Tile 12 x 280 x 1800 mm QUATRO
SKU: 583564
Promotional price valid until 4.1.2027
13.99 € / m²
4.03 m2 = 1 package80.56 € /package
• Looduslikul puitkiudplaadil baseeruv laeplaat on soojapidav ning helisummutav.
• Kasutatakse nii uusehitistes kui ka vanade ehitiste renoveerimistöödel.
• Valget värvi.
• 14-päevane tagastusõigus.
• Kasutatakse nii uusehitistes kui ka vanade ehitiste renoveerimistöödel.
• Valget värvi.
• 14-päevane tagastusõigus.
- Courier service to home from 7,99 € from 2-3 tööpäeva
- Pick up from the store from 18.11.2026
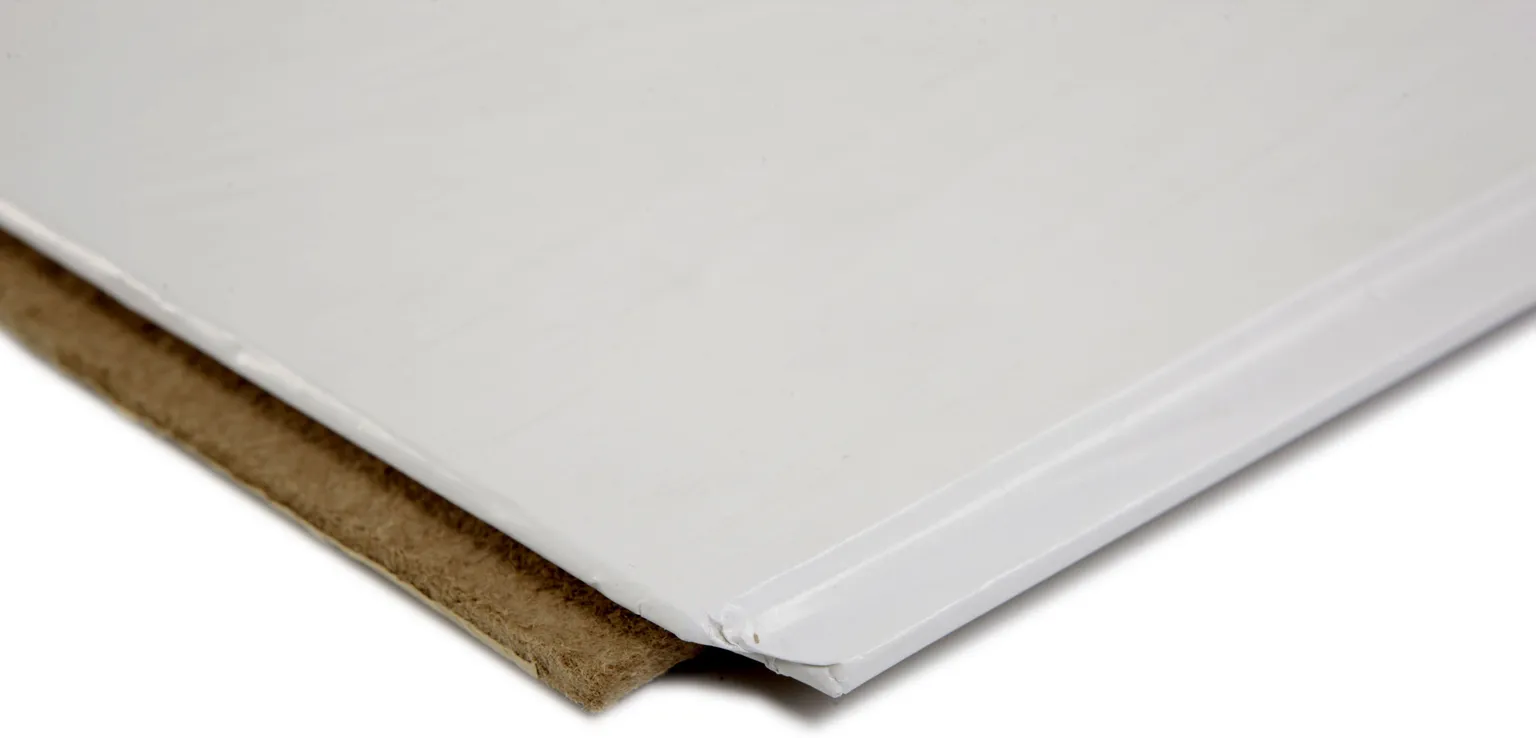
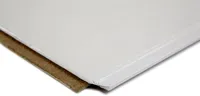
Isotex Forest Nordic ceiling panels are 12 mm thick, 280 mm wide, and 1,800 mm long, and are white in color. The material is wood fiberboard covered with white decorative paper and requires no additional finishing work.
Isotex interior finishing panels are used in both new construction and renovation projects for older buildings. Isotex panels are insulating and sound-absorbing. This is ensured by their porous yet dense structure. Due to the properties of this structure, the panels are dense, significantly improving room acoustics by blocking external noise and dampening noise and echoes generated within the room. The panels offer excellent sound and thermal insulation. The average airborne sound insulation of an Isotex panel is 22 dB.
Isotex panels provide excellent thermal insulation. The thermal conductivity of the panels is 0.045–0.05 W/mK. The surface temperature of the wall also improves significantly. The thermal insulation of a 12-mm Isotex panel is equivalent to that of: 12 mm of loose-fill insulation, 44 mm of wood, 210 mm of red brick, or 450 mm of concrete.
The technology used in the production of Isotex interior finishing panels is sustainable and environmentally friendly. High-quality wood chips are used as the raw material. No adhesives or other chemicals are used in the manufacture of wood fiber panels. Water is added to the fiber mass produced by grinding wood chips, and when the mass is dried, wood fiber boards are formed, with the natural resins contained in the wood serving as the sole binder. Only water-based adhesives are used for surface finishing. The panels retain all the characteristics typical of wood—strength, durability, and warmth.
Installing Isotex interior finishing panels is simple. The panels are lightweight, so even one person can handle the installation. No special tools are required for installation or processing—all you need is a utility knife, a pencil and measuring tape, a square, a straight batten or metal ruler, staples and a staple gun, and/or construction adhesive.
Installation on a subframe:
Use 19x44 mm wide wooden battens to construct the subframe. Fasten the battens at 300 mm intervals, measured from the center of each batten. Secure the panels to the sub-battens with staples, ensuring that the spacing between staples does not exceed 100 mm. Staple length: 10–14 mm. Secure the outermost panel to the furring strip with nails, screws, or adhesive so that the ceiling trim covers them. Panels should always be installed along the length of the furring strip. For best results, install the longitudinal joints in the direction of the light.
Installation with adhesive:
Apply a bead of adhesive to the back of the panels approximately 30 mm from the edge and dots of adhesive to the center of the panel every 200 mm. Press the panel against the ceiling slightly away from the tongue and groove, then slide it sideways so that the adhesive surface levels out and the panel adheres to the ceiling without additional support. Where possible, you can secure the panels with clips. Always follow the instructions provided by the respective adhesive manufacturers!
| General | |
|---|---|
| Product code | 583564 |
| Package dimensions | |
|---|---|
| Product weight, kg | 13.29 |
| Package height, cm | 180 |
| Package depth, cm | 1.2 |
| Package width, cm | 28 |
| Weight, kg | 13.71 |
Bauhof Transport
Courier service to home from 7,99 € from 2-3 tööpäeva
Delivery by courier. A Bauhof courier will deliver the goods to the doorstep at the destination. Carriage of the goods to the door or to the apartment is not included. Once the ordered products have been delivered to the courier company, the courier company will contact you in advance to specify the delivery time.
Check out more detailed terms here I'll follow myself
Pick up from the store from 18.11.2026
I'll come to the Bauhof store myself to order. Estimated time of delivery from the store is indicated on the product card. We will send you a notification when the goods arrive at the store.
Check out more detailed terms here